Revive Your Wood Floors: The Complete Sanding and Refinishing Guide
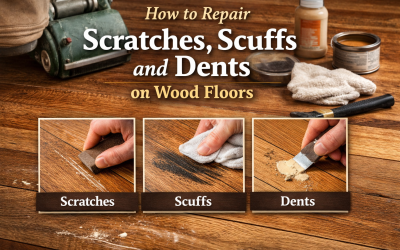
Ah, wood floors. Timeless. Elegant. Stubbornly prone to wear and tear. Over time, those once-pristine planks—proud and gleaming in their youth—can start looking a bit worse for wear. Scuffs, scratches, dull patches. It happens. But here’s the good news: you don’t need to fork out a fortune to rip them up and start again. Floor sanding is your saviour.
So grab your dust mask and steel yourself; this is your ultimate guide to wood floor sanding. I’ll take you through the entire process, step by step, and give you the insider tips that separate the pros from the amateurs. By the end, you’ll know how to turn your worn-out floorboards into a gleaming masterpiece. Ready? Let’s dive in.
Why Sand Your Floors?
Before we get to the how, let’s talk about the why. Floor sanding isn’t just about making your floors look pretty (though that’s a major perk). It’s about restoration. Refinishing. Breathing new life into tired timber.
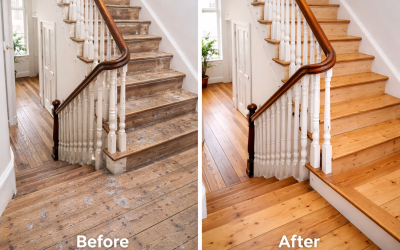
Over the years, dirt, grit, and general foot traffic cause surface damage. Even the best sealants and finishes wear thin. Floor sanding removes the old finish and the top layer of wood, exposing the fresh timber underneath. Done right, it smooths out imperfections and preps the surface for a new finish, extending the life of your floors for years to come.
Step 1: Assess Your Floors
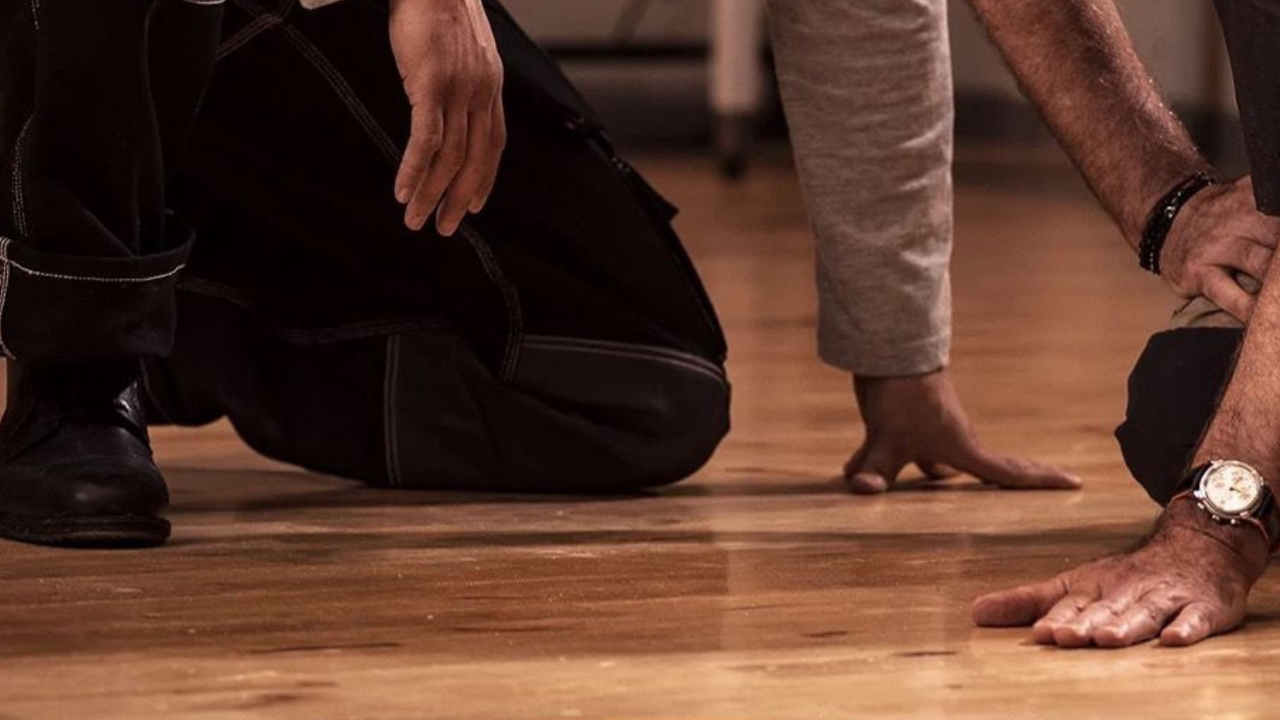
First things first—take a good, hard look at your floors. Not all wood floors are created equal, and some aren’t suited to sanding at all.
- Solid Wood Floors: Great news! These are ideal for sanding. You can sand them multiple times over their lifetime.
- Engineered Wood Floors: These can be sanded, but only if the veneer (top layer) is thick enough. Generally, anything thinner than 3mm is a no-go.
- Laminate Floors: Stop right there. Laminate isn’t wood, no matter how convincing the grain looks. Sanding will ruin it.
Also, check for damage. Deep cracks, loose boards, or rot need fixing before you start sanding. There’s no point polishing a turd, as they say.
Step 2: Gather Your Tools
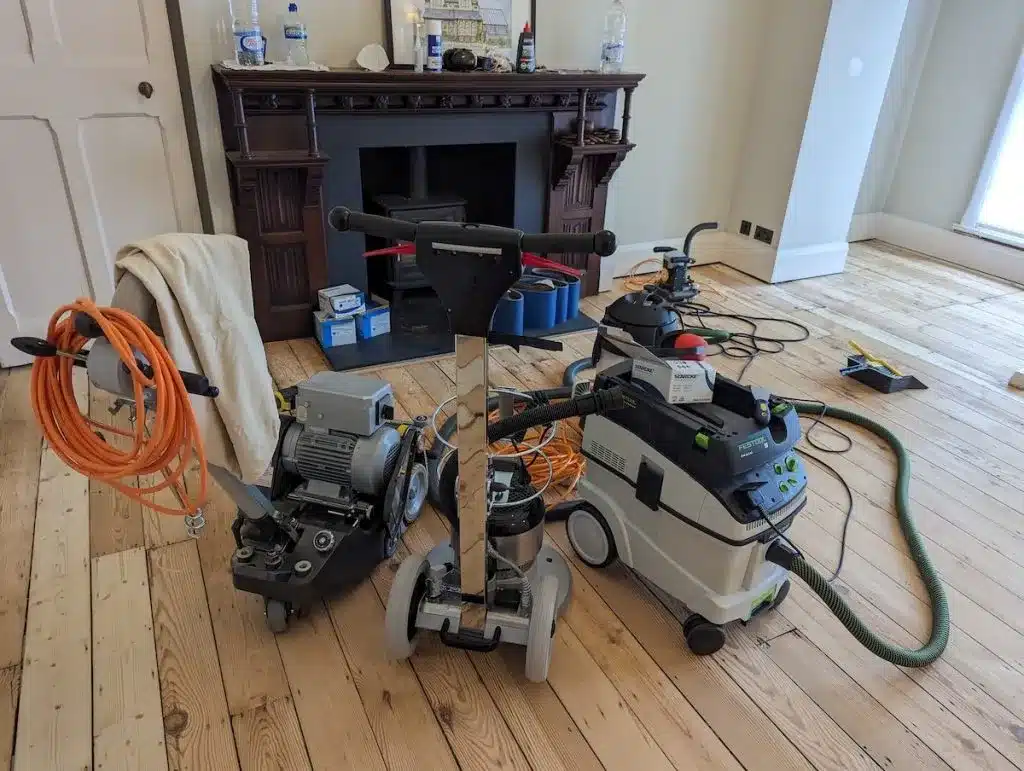
Sanding a floor isn’t a job you can tackle with just elbow grease and a hand sander. You need the right kit. Here’s your shopping list:
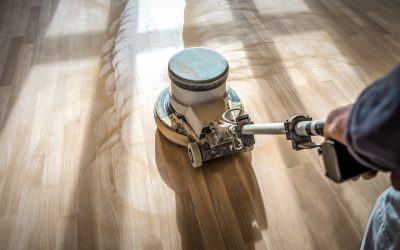
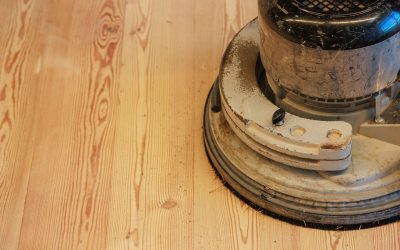
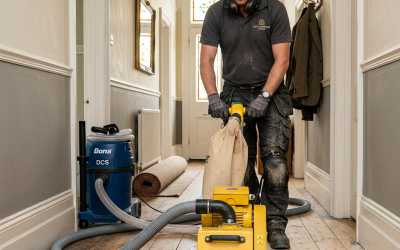
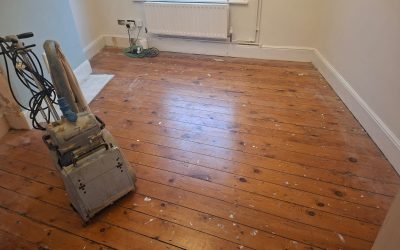
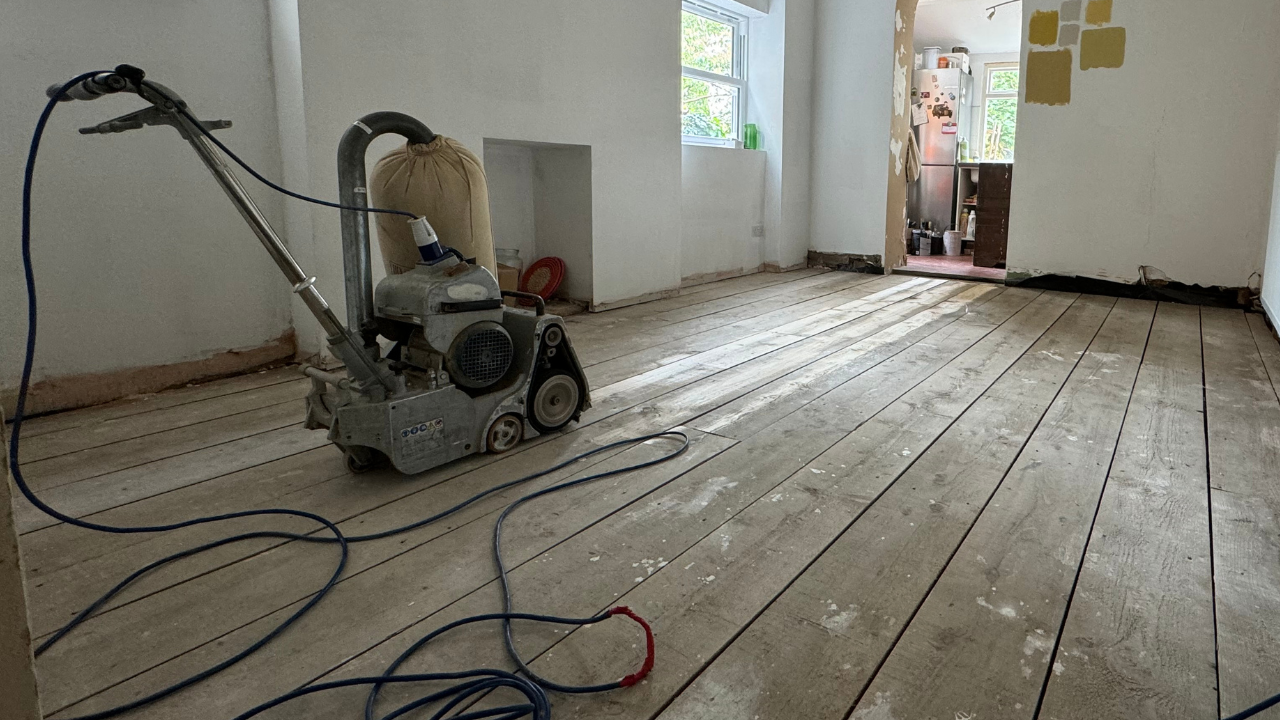
- Floor Sander: A drum sander or orbital sander is your main weapon. Rent one if you don’t want to buy it outright.
- Edge Sander: For the bits your floor sander can’t reach—corners, edges, and under radiators.
- Sandpaper: You’ll need a range of grits, from coarse (around 24-grit) to fine (120-grit). More on this later.
- Vacuum Cleaner: A powerful one. You’ll be battling a lot of dust.
- Dust Mask: Non-negotiable. Inhaling wood dust is bad for your health.
- Ear Protection: Floor sanders are loud. Save your eardrums.
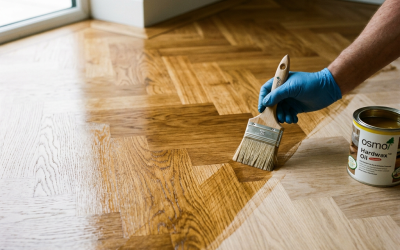
- Floor Finish: Choose between oil, varnish, or wax to seal your freshly sanded floors.
Step 3: Preparation Is Everything
This is where the impatient DIYer stumbles. Skip the prep, and you’ll regret it. Take your time here.
- Clear the Room: Remove furniture, rugs, and anything else that isn’t nailed down.
- Inspect the Floor: Hammer down any protruding nails. Sanding over them can damage your sander (and your nerves).
- Seal the Room: Dust will get everywhere. Use masking tape and plastic sheeting to cover doorways, vents, and light fittings.
- Clean the Floor: Sweep and vacuum thoroughly. You don’t want stray grit scratching your floors during sanding.
Step 4: Start Sanding
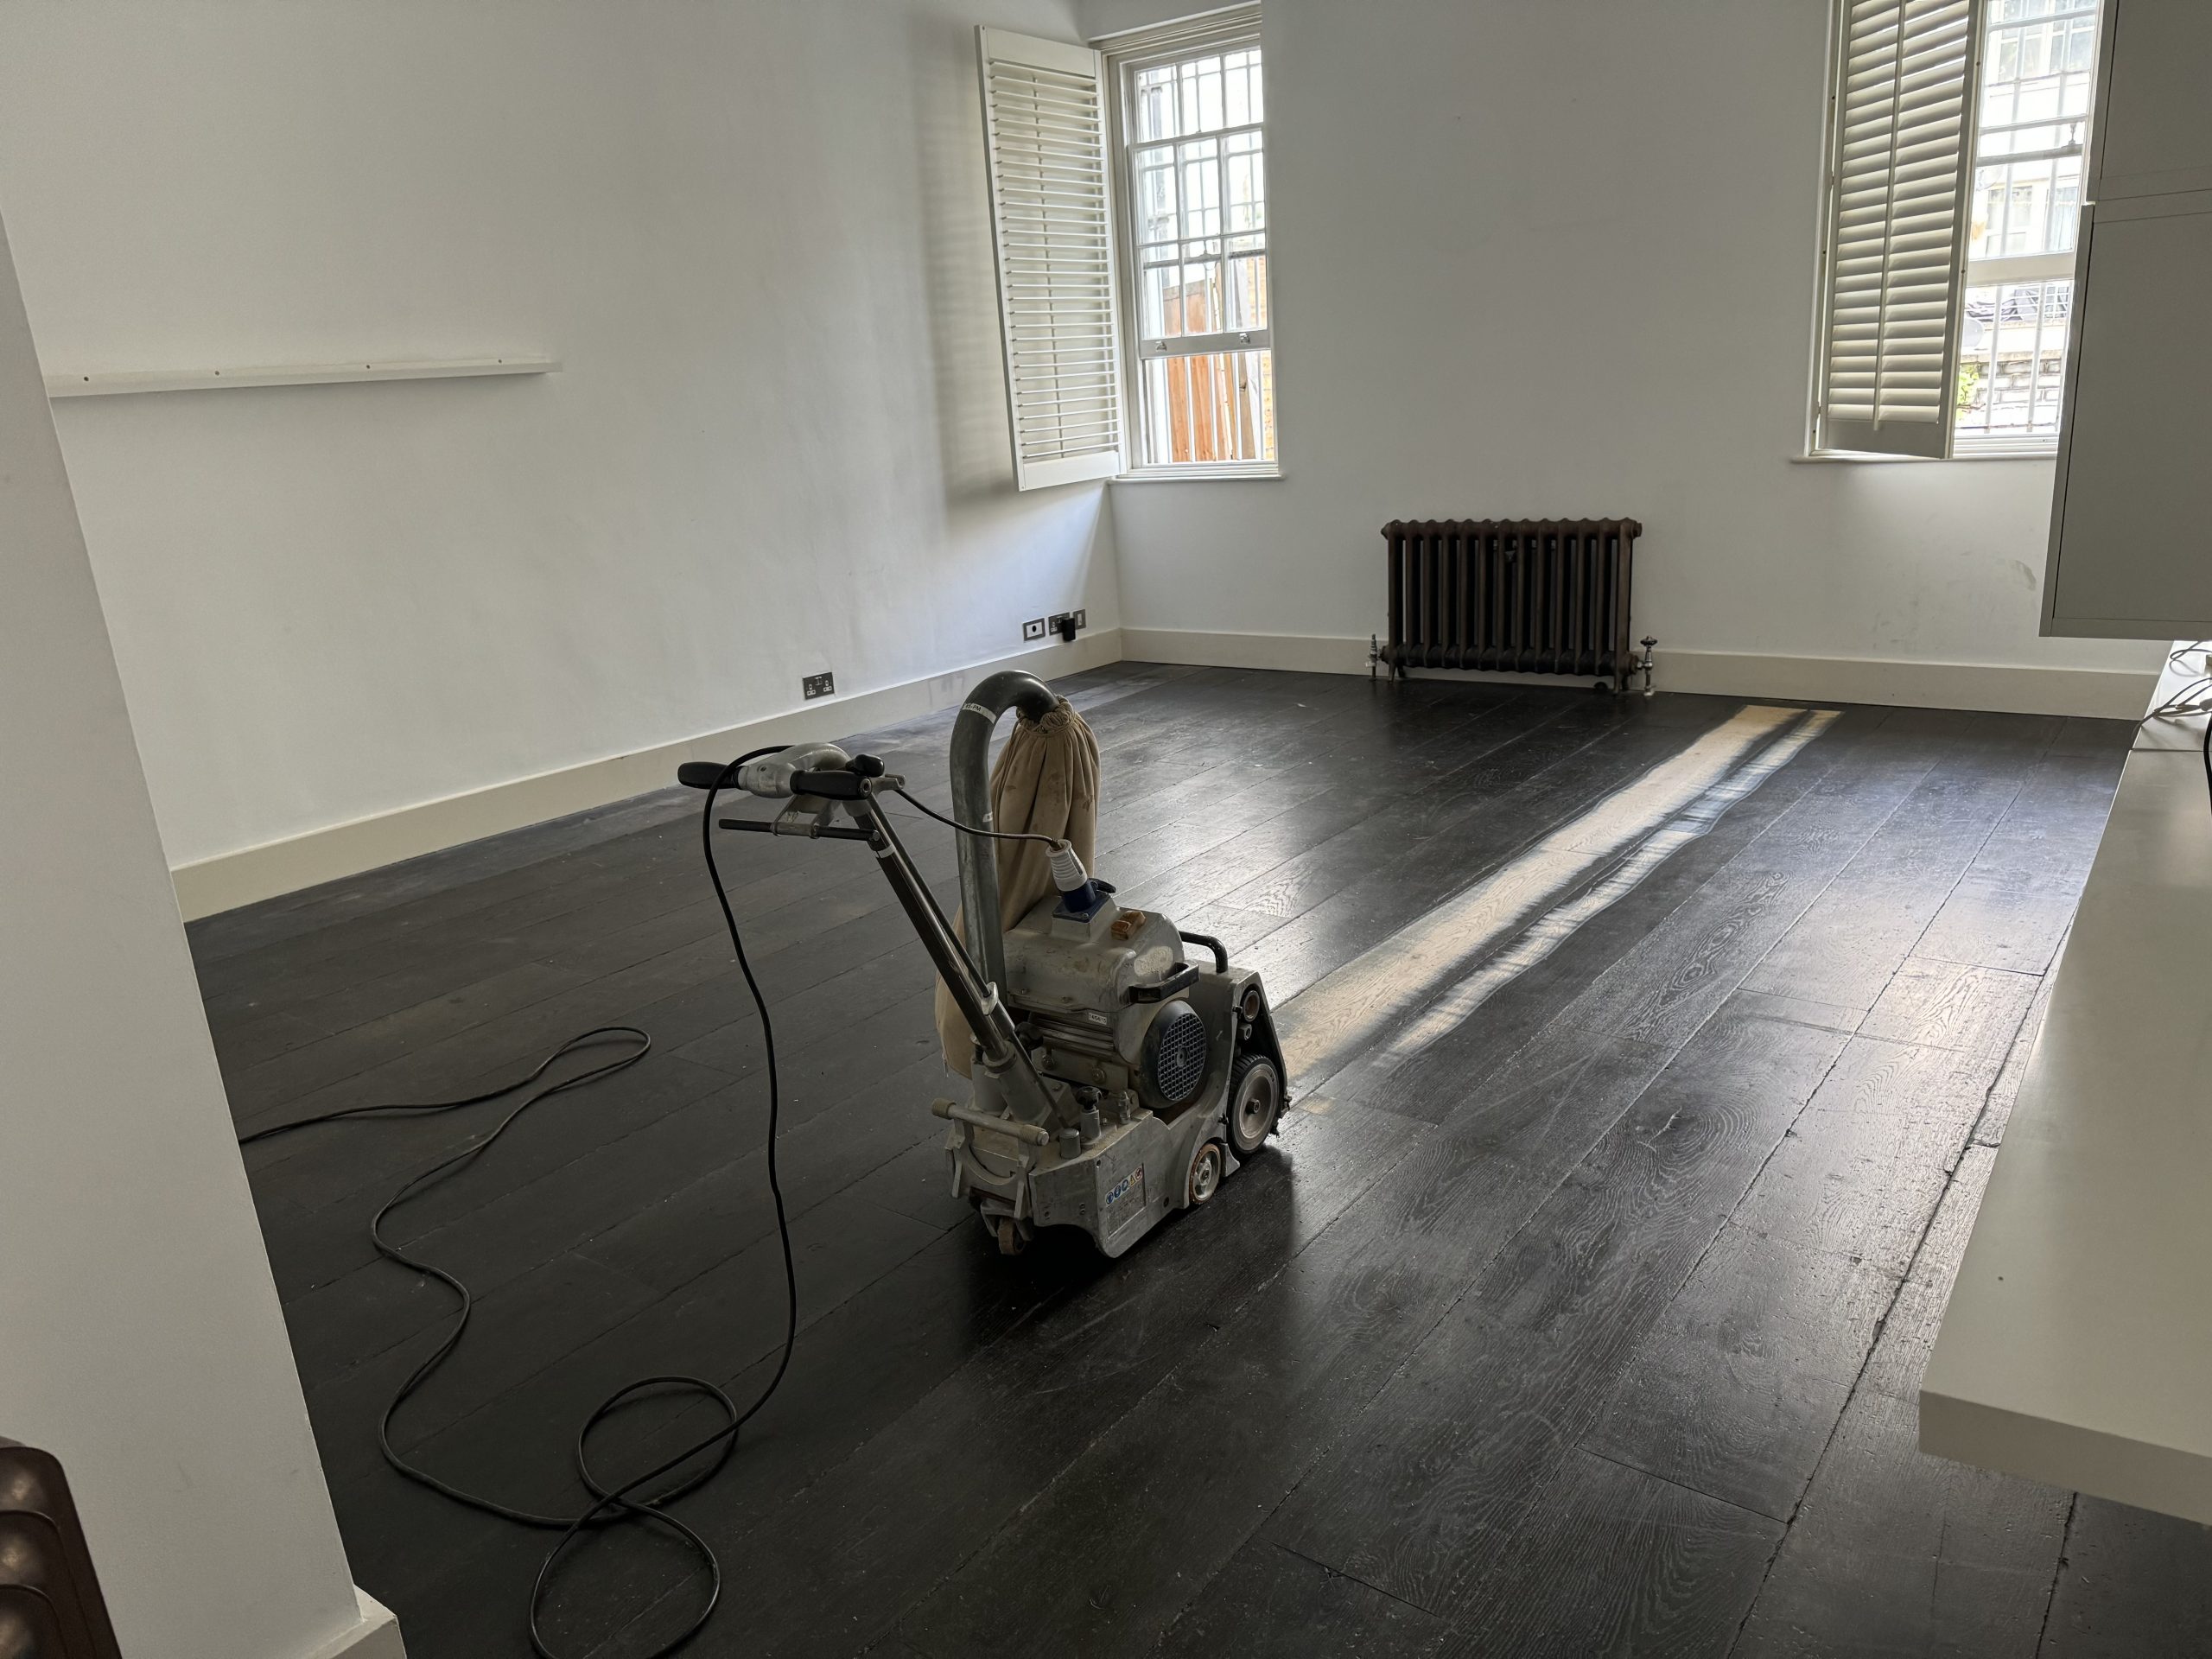
Here’s where the magic happens—or, if you’re not careful, the mayhem. Floor sanding isn’t complicated, but it requires patience, precision, and a steady hand.
Choosing Your Grit
Sandpaper grit matters. Start coarse, then work your way to fine. Here’s a general guide:
- 24-36 Grit: For the first pass. Strips off old finish and tackles deep scratches.
- 60-80 Grit: Smooths the surface after the coarse pass.
- 100-120 Grit: For the final pass. Leaves the wood silky smooth.
Using the Floor Sander
- Test a Patch: Before you go full throttle, test the sander in a small, inconspicuous area.
- Follow the Grain: Always sand in the direction of the wood grain. Going against it can leave ugly marks.
- Keep It Moving: Don’t linger in one spot. Keep the sander moving to avoid gouges.
- Overlap Passes: Each pass should slightly overlap the last for even sanding.
Edges and Corners
Your floor sander won’t reach the edges. That’s where your edge sander comes in. Use it to tackle skirting boards, corners, and tight spots.
Step 5: Deal with the Dust
Sanding creates a lot of dust. Don’t skip this step, or you’ll end up with a finish that looks like a bad snow globe.
- Vacuum Thoroughly: Use a vacuum cleaner with a fine filter to remove as much dust as possible.
- Wipe Down: Use a damp cloth to pick up any remaining dust particles.
- Let It Settle: Give the dust time to settle, then vacuum again.
Step 6: Apply Your Finish
Now comes the fun part—giving your floors their final glow-up. There are three main types of finish to choose from:
- Varnish: Durable and glossy. Great for high-traffic areas but can look a bit plasticky.
- Oil: Penetrates the wood for a natural look. Requires more maintenance than varnish.
- Wax: Provides a soft sheen and is easy to repair. Best for low-traffic areas.
Applying the Finish
- Stir, Don’t Shake: Stir your finish gently. Shaking it creates bubbles.
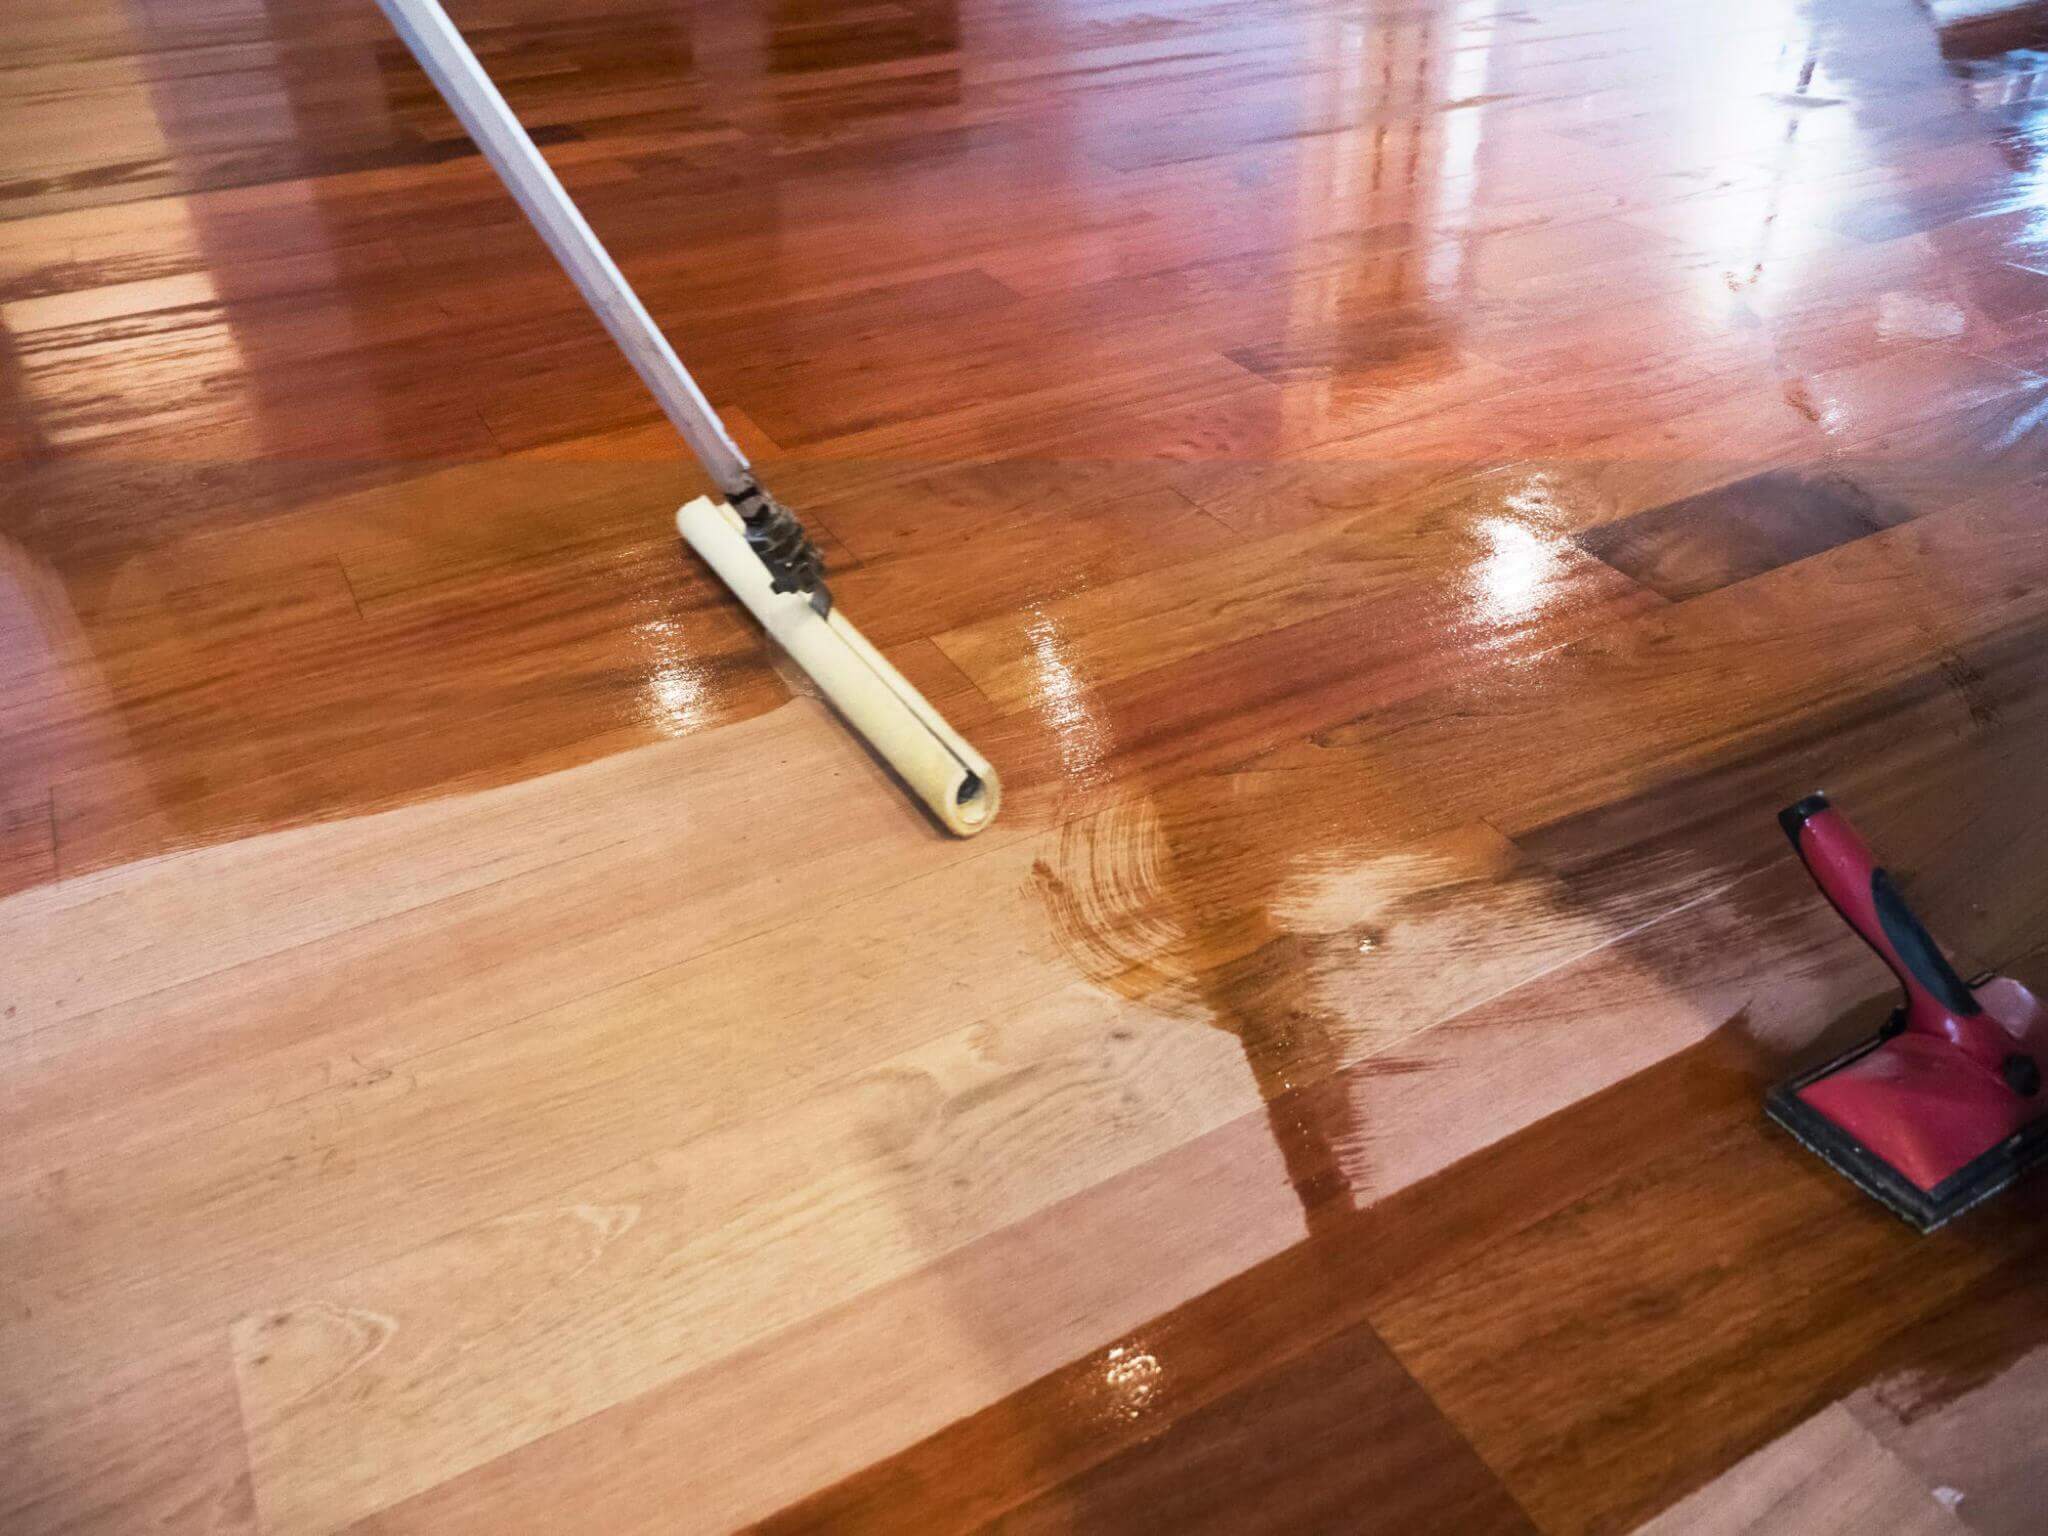
- Use a Roller or Brush: Apply the finish evenly, working in the direction of the grain.
- Let It Dry: Follow the manufacturer’s instructions for drying time.
- Apply a Second Coat: Most finishes need at least two coats for durability.
Pro Tips for a Perfect Finish
- Sand Between Coats: Use fine-grit sandpaper (around 220) to lightly sand between coats of finish. This removes imperfections and helps the next coat adhere better.
- Work in Sections: Don’t rush. Work systematically, section by section.
- Be Patient: Floors need time to cure. Avoid heavy foot traffic for at least 48 hours after the final coat.
Conclusion: Embrace the Satisfaction
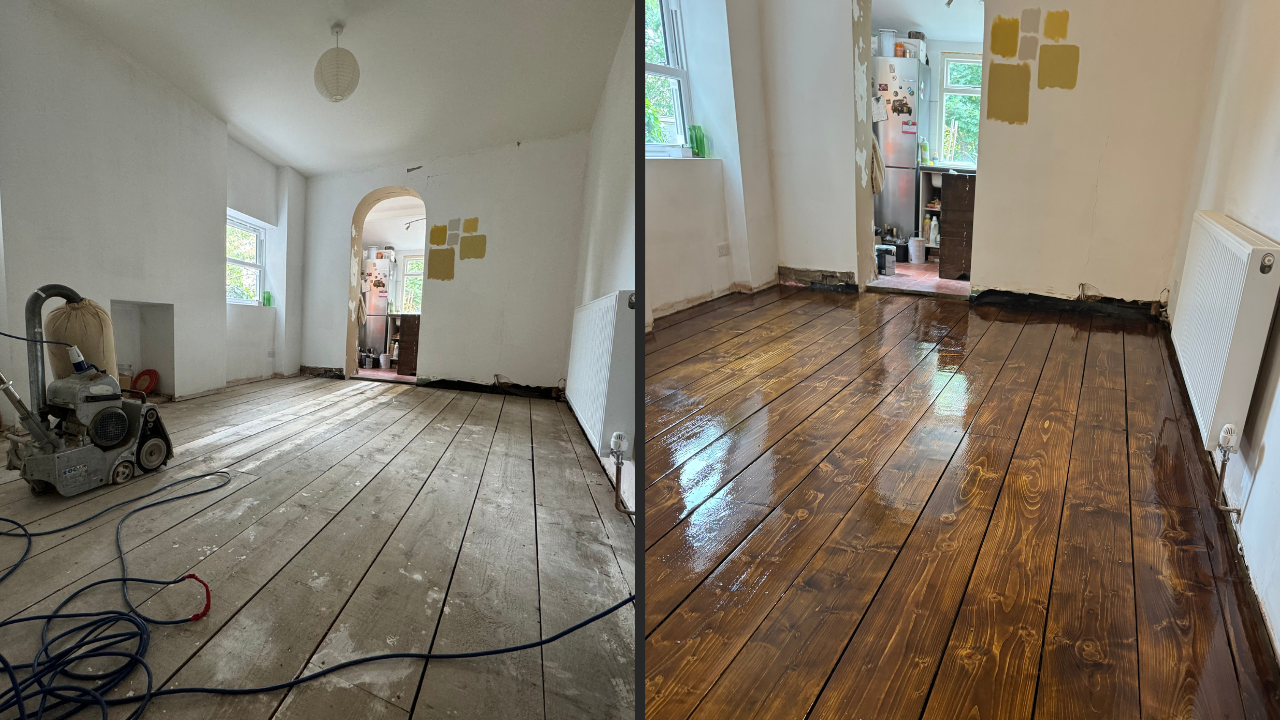
There’s something immensely satisfying about standing back and admiring a job well done. Sanding your floors is no small feat, but the results are worth every bead of sweat. You’ve taken tired, scratched boards and transformed them into a gleaming, polished centrepiece for your home.
And the best part? You did it yourself. You saved money, learned a new skill, and gave your floors a new lease on life. So go ahead—invite some friends over, throw a party, and let your revitalised floors take centre stage.
Because if there’s one thing a freshly sanded floor loves, it’s showing off.