Step-by-Step Clapham Floor Sanding Tips for a Smooth, Even Finish
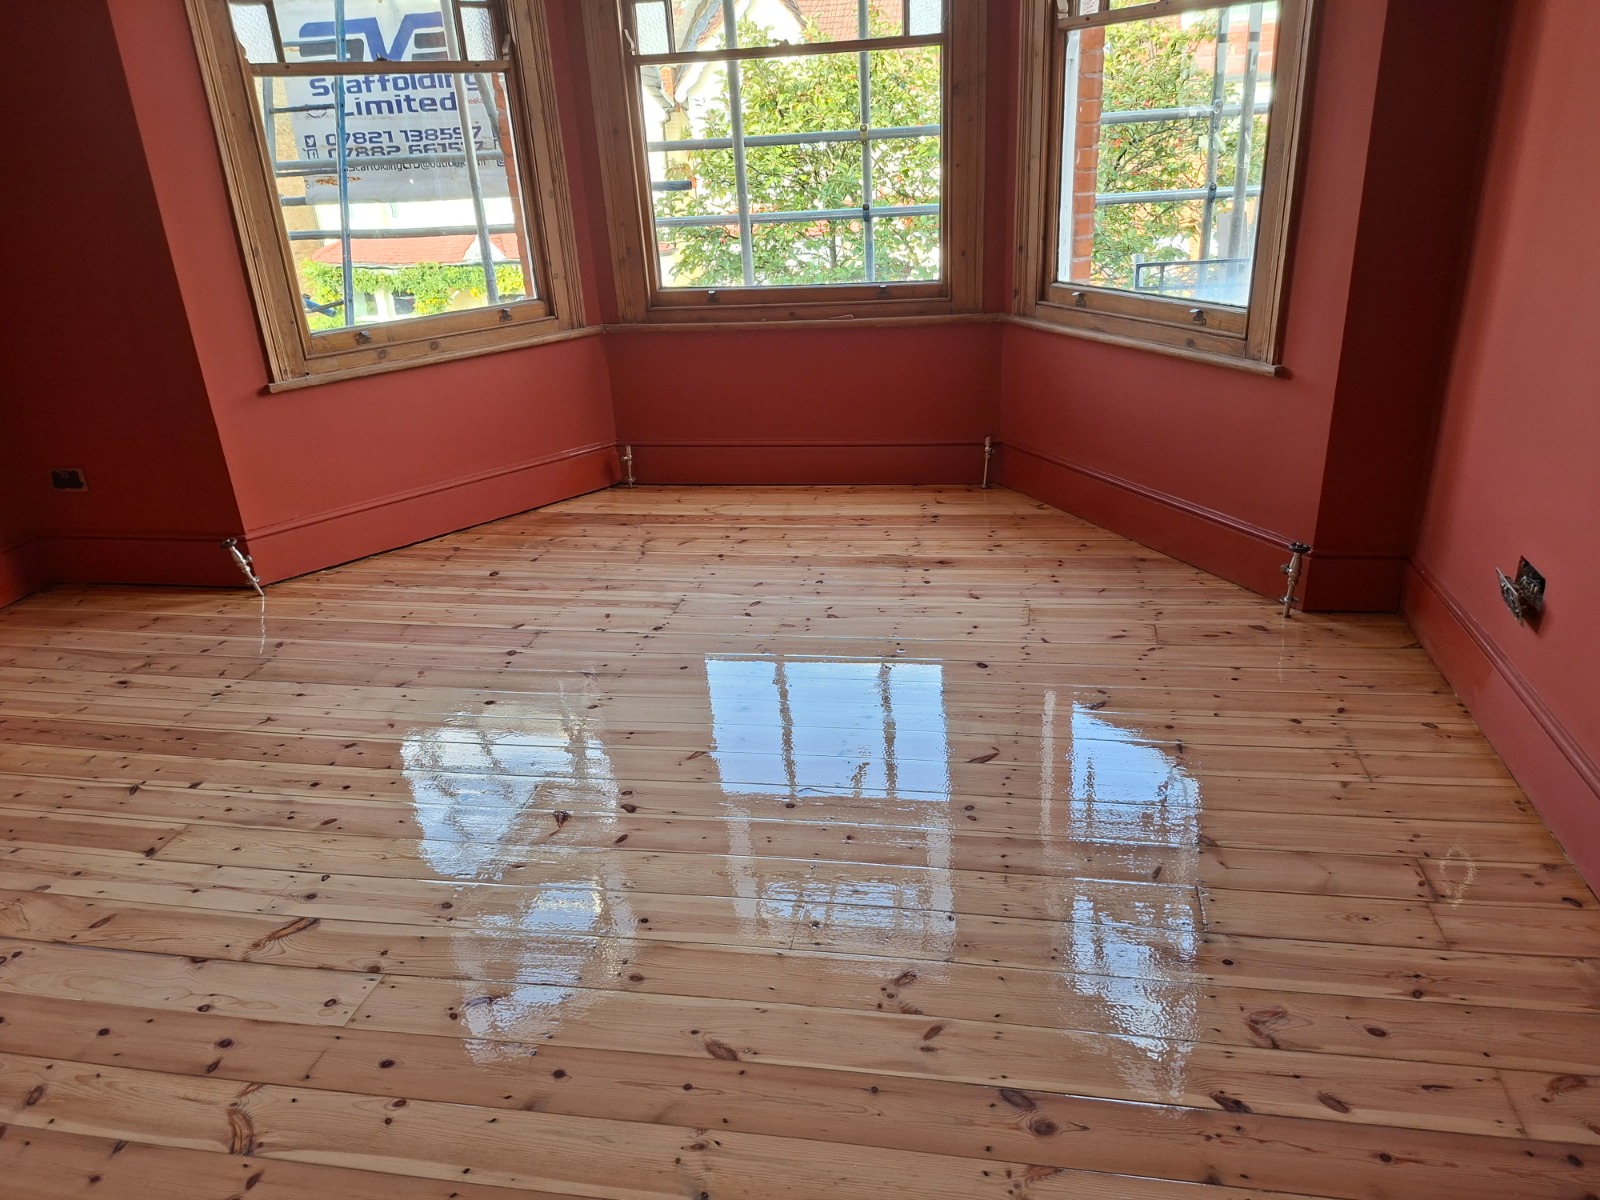
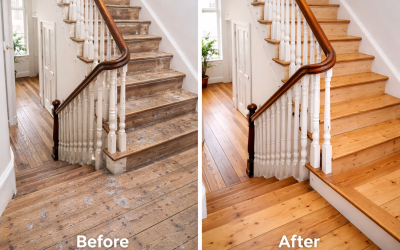
Victorian floorboards are one of the best things about living in Clapham. Hidden under old carpets and tired laminate, those original pine boards give your home warmth, character and a proper period feel – if they’re looked after.
The good news? With the right approach (and a bit of patience), you can make those worn, paint-splattered boards look fresh, bright and almost new again. This guide walks you through practical Clapham floor sanding tips specifically for Victorian boards – plus where it makes sense to call in the pros at Clapham Floor Sanding.
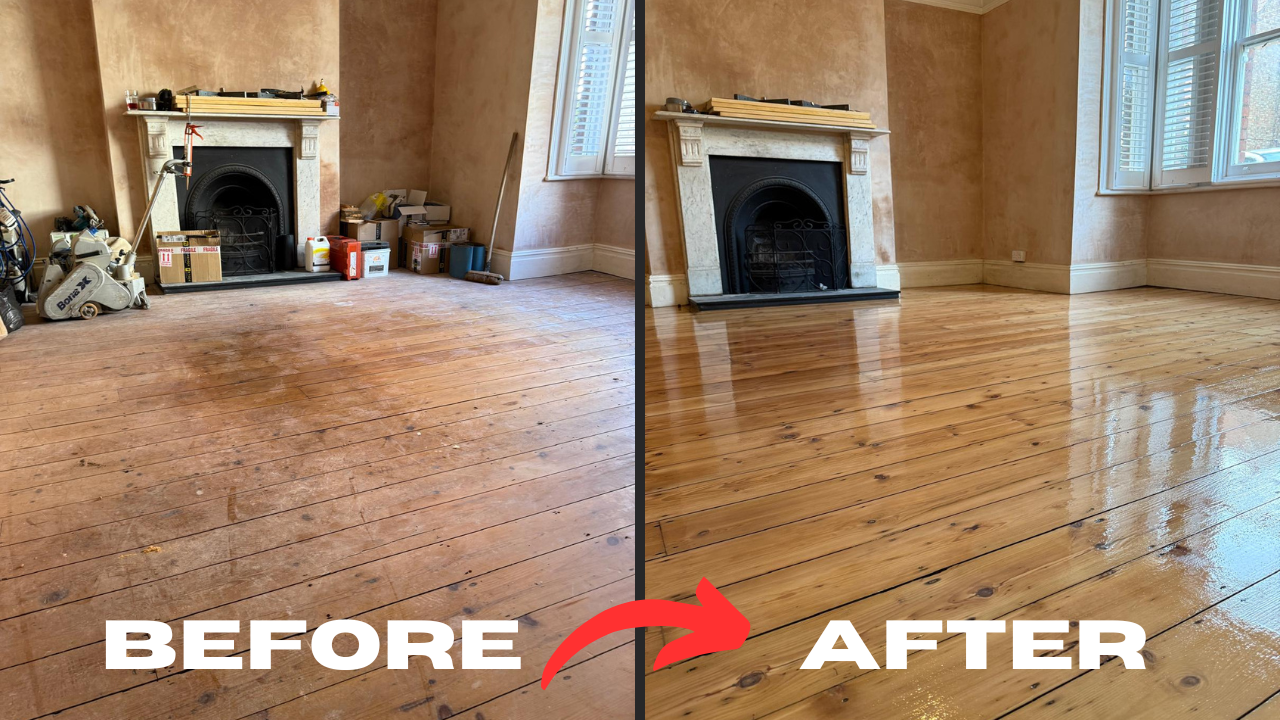
Why Your Victorian Boards Are Worth Saving
Before you reach for the carpet samples, it’s worth understanding why those original boards are such an asset:
- Authentic period character – Nothing looks quite like original Victorian pine. The narrow boards, old nail heads and subtle variations suit Clapham terraces and maisonettes perfectly.
- Adds value – Estate agents know that well-finished wooden floors make photos pop and viewings more impressive. Restored boards can be a selling point.
- More sustainable than replacing – Sanding and restoring existing floors uses far fewer materials than fitting new engineered boards or carpets.
- Warmer and more comfortable than you think – With proper gap filling and floor restoration in Clapham from a specialist like Clapham Floor Sanding, draughts and cold spots can be dramatically reduced.
In other words, you’re not just “tidying up” an old floor – you’re upgrading one of the most important surfaces in your home.
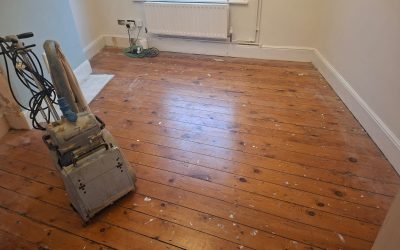
Step 1 – Assess the Condition of Your Victorian Floorboards
Before any sanding starts, you need to know what you’re working with.
- Lift existing coverings carefully
Remove carpets, underlay and gripper rods slowly so you don’t gouge the boards. Be especially careful near fireplaces and thresholds. - Check for loose or damaged boards
- Are any boards moving when you walk?
- Do you see cracks, splits or chunks missing?
- Is there any blackened or soft timber that could indicate historic damp?
- Look for previous “repairs”
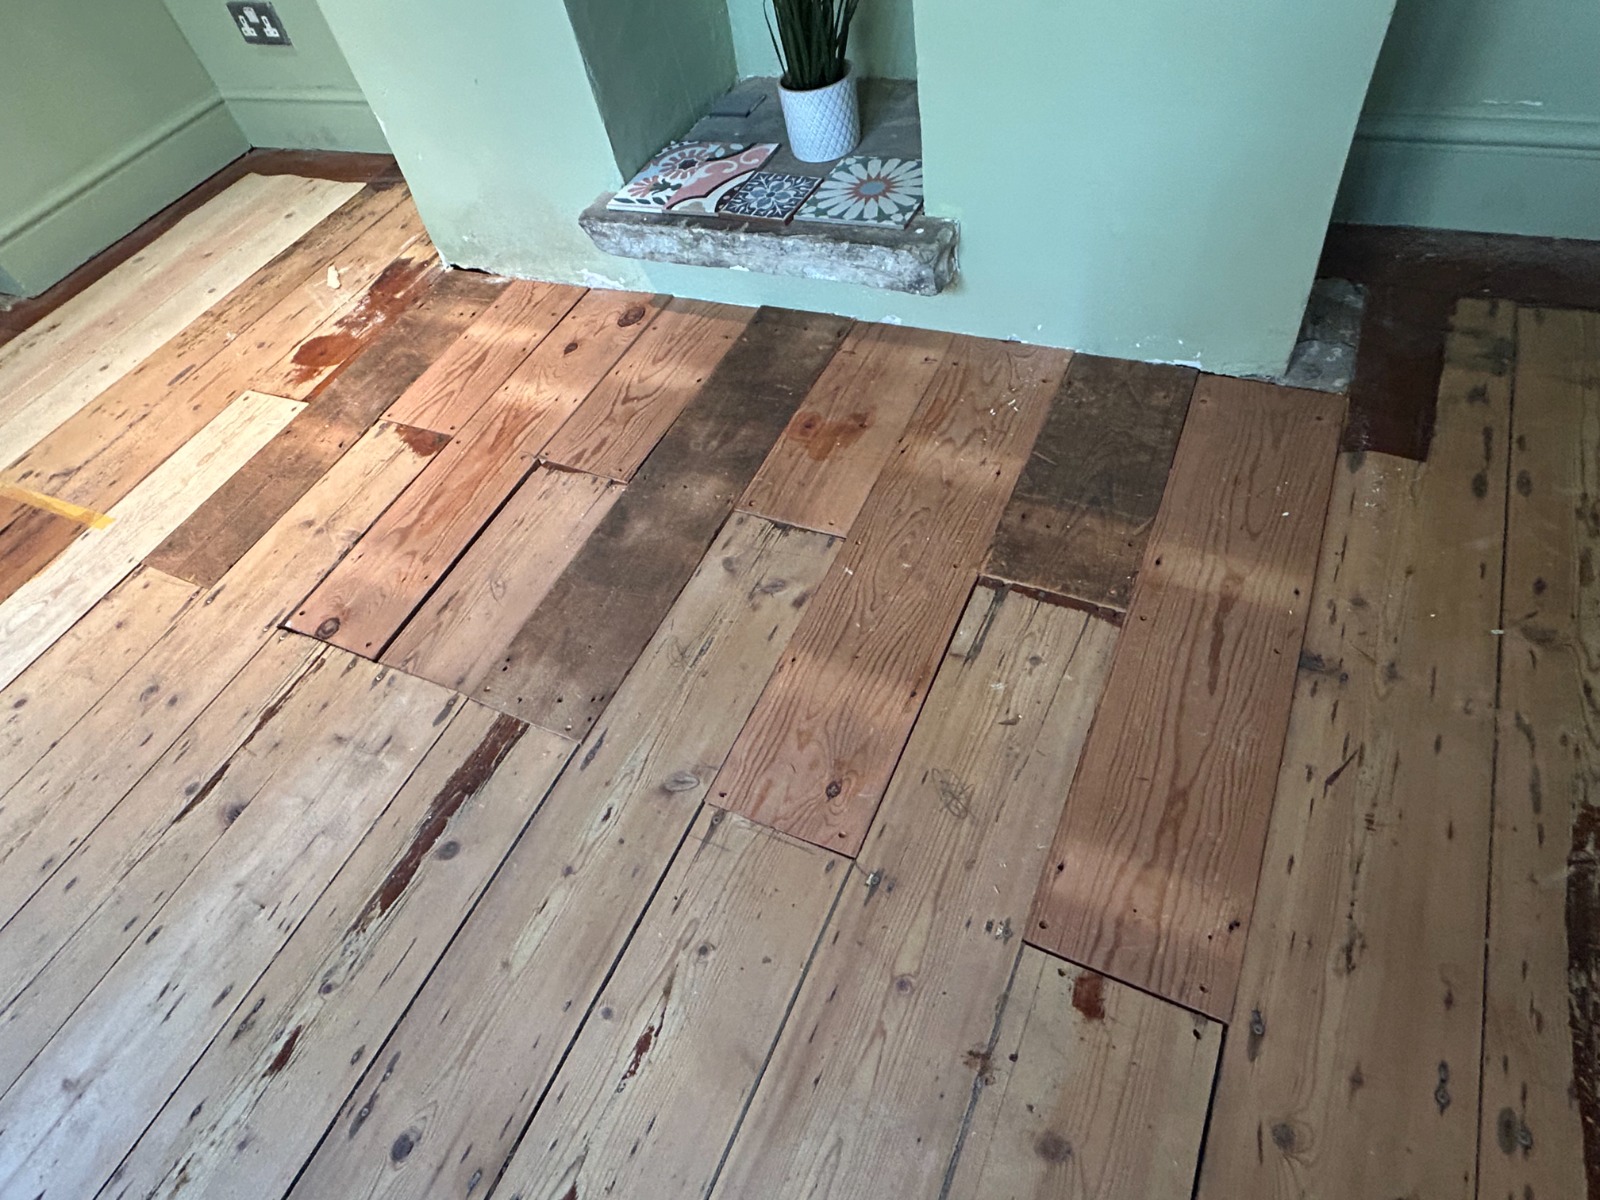
Older homes in Clapham often show signs of DIY fixes – random patch boards, metal plates, or chunks cut out for old plumbing. These may need replacing before sanding. - Check nail and screw heads
Victorian boards will almost always have visible nails. Every head must be punched below the surface before sanding, or they’ll shred abrasive belts and leave dark rings.
If you find serious structural issues, widespread rot or a patchwork of different board types, it’s wise to get professional advice. A team like Clapham Floor Sanding can handle sub-floor repairs and full wood floor restoration in Clapham safely and efficiently.
Step 2 – Prepare the Room Properly
Good preparation is half the job. Rushing this stage is one of the biggest mistakes homeowners make.
Clear the space completely
- Remove all furniture, rugs and loose items.
- Take off doors if they open into the room – they may need trimming once the floor is higher with finish.
- Cover fireplaces, built-in cupboards and radiators with plastic and tape.
Remove metalwork and protrusions
- Take out old carpet gripper rods and staples.
- Remove any old threshold strips or tacks.
- Punch all visible nails at least 2–3mm below the surface using a nail punch and hammer.
Deal with gaps and movement
Don’t worry about tiny gaps yet, but note any boards that:
- Creak loudly
- Move visibly when stepped on
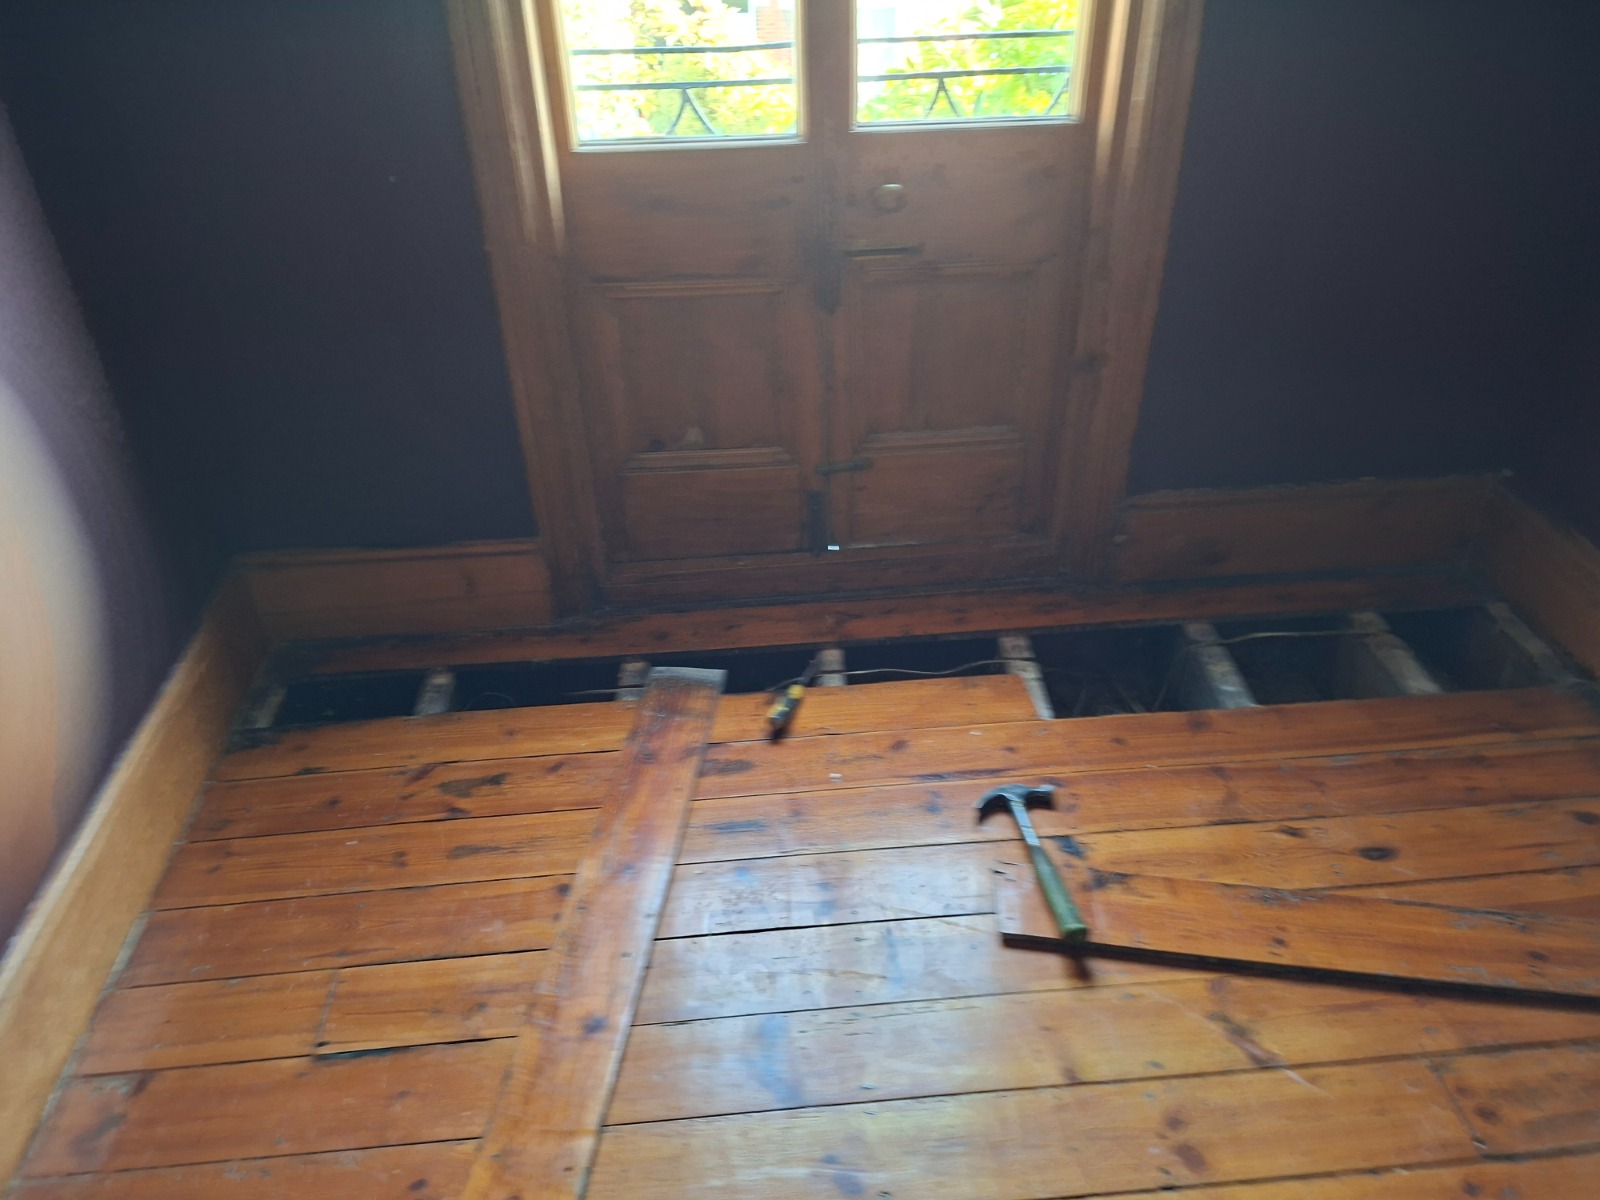
- Have large gaps you can see through into the void below
These may need board repairs and gap filling – something Clapham Floor Sanding routinely handles as part of their floor sanding and restoration services in Clapham.
Step 3 – Choose the Right Sanding Equipment
Victorian boards respond best to the right machinery and a sensible sanding sequence. This is where professional kit really makes a difference.
Big machine vs. DIY hire
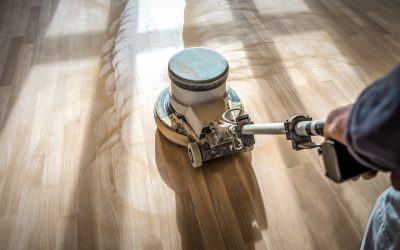
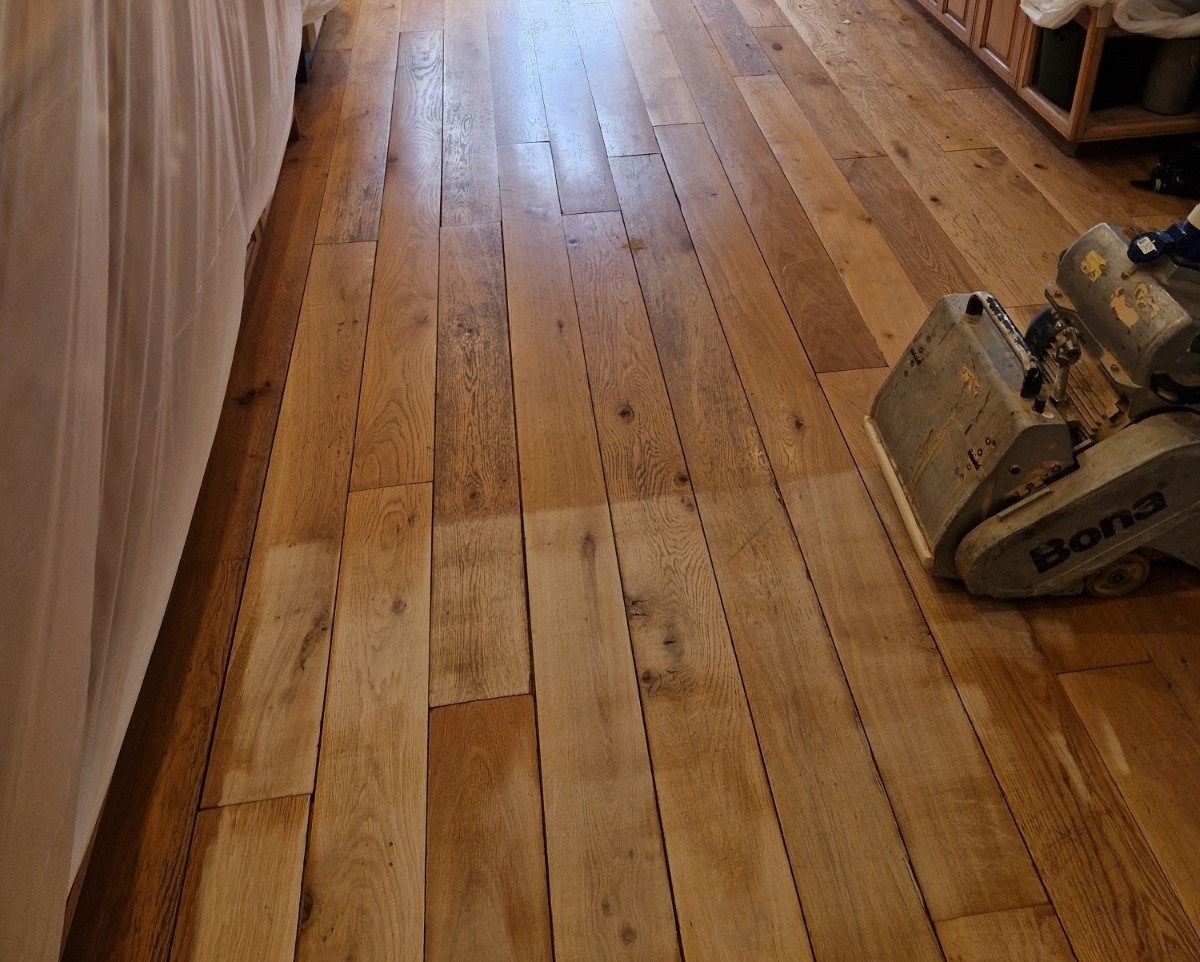
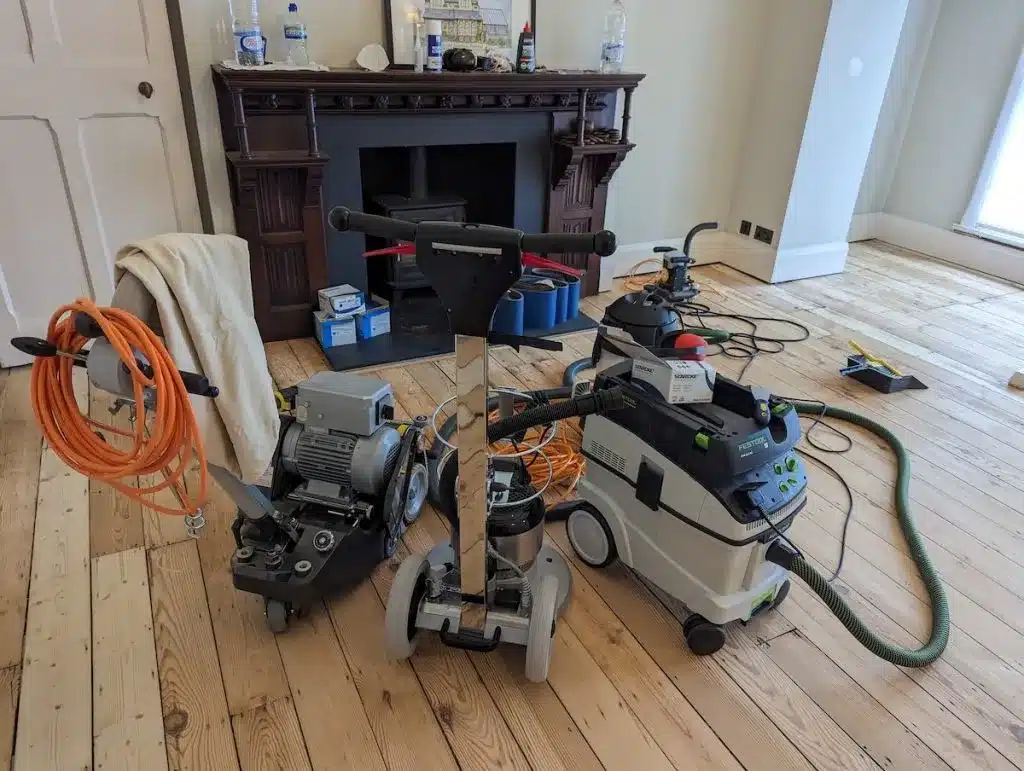
- A professional belt sander or high-quality drum sander levels Victorian boards smoothly and evenly.
- Cheap hire machines can be underpowered, leave waves, or cut aggressively if you pause for even a second.
You’ll also need:
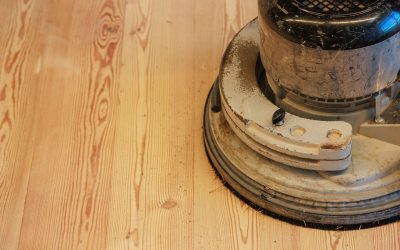
- An edger for the perimeter of the room
- A corner sander or detail sander for tight spots
- Industrial vacuum cleaners to keep dust down
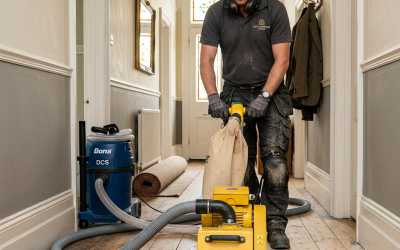
Most professional outfits now use dust-free floor sanding systems, where powerful extraction keeps dust to an absolute minimum. If you’d rather avoid days of wiping dust off every surface, think about booking dust-free floor sanding in Clapham with Clapham Floor Sanding.
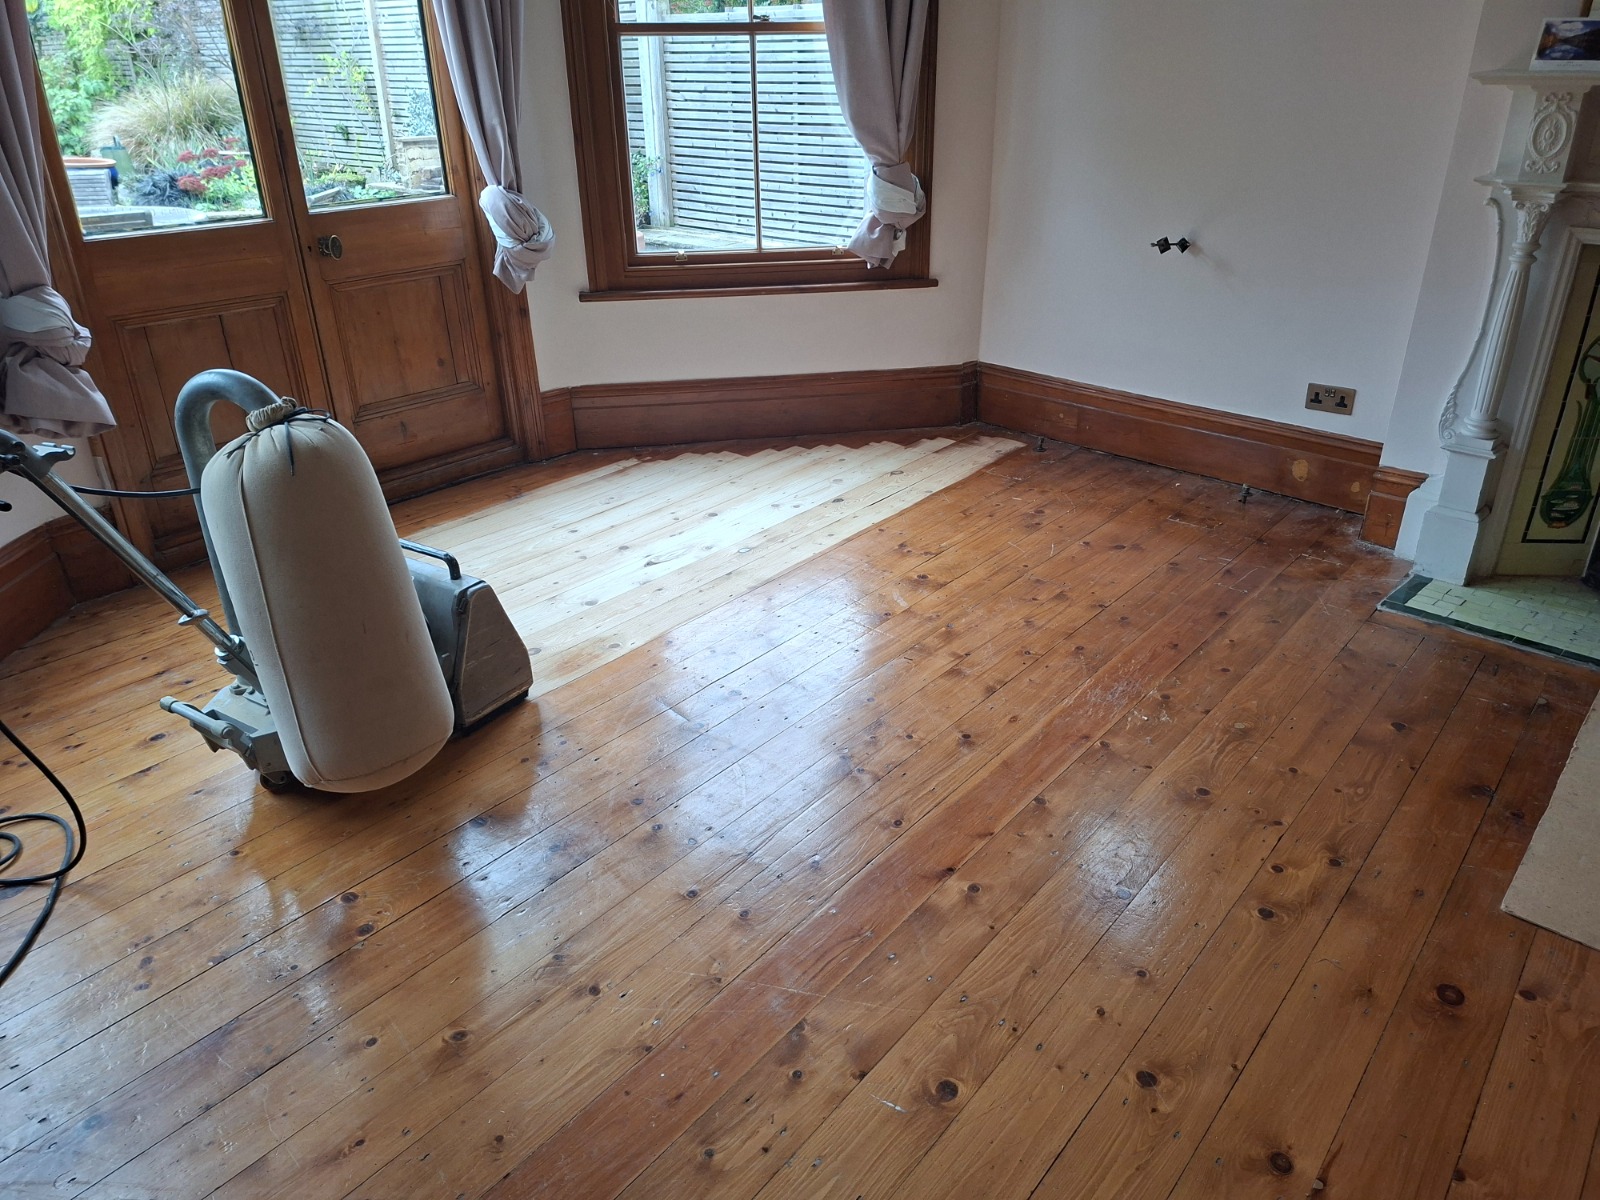
Step 4 – Sanding Technique for Old Victorian Boards
Once you’re set up, it’s all about technique. Here’s a typical approach for pine boards that have paint, stains and general wear:
Start coarse and work finer
A common professional grit sequence might be:
- 24 or 36 grit – heavy cut to remove paint and level the floor
- 40 or 60 grit – refine the surface and remove deep scratches
- 80 grit – smooth out remaining marks
- 100 or 120 grit – final pre-finish sanding
Each pass should remove the scratches from the previous one. Skipping grits is how you end up with visible swirl marks and a dull, uneven finish.
Always move with the grain
- Run the big machine along the direction of the boards, not across.
- Keep the machine moving as you lower and raise the drum – never let it sit in one spot, or you’ll create gouges.
Edge sanding matters
The edges are often where floors look worst after DIY sanding:
- Use the edger in a smooth, overlapping pattern around the perimeter.
- Blend the edge sanding into the centre area to avoid visible “bands”.
- Follow the same grit sequence on the edges as you did in the centre.
If this sounds intimidating, that’s because it can be. Professional floor sanding services in Clapham from Clapham Floor Sanding are designed to take this stress off your shoulders and deliver a perfectly even surface ready for finishing.
Step 5 – Gap Filling for Draughty Victorian Floors
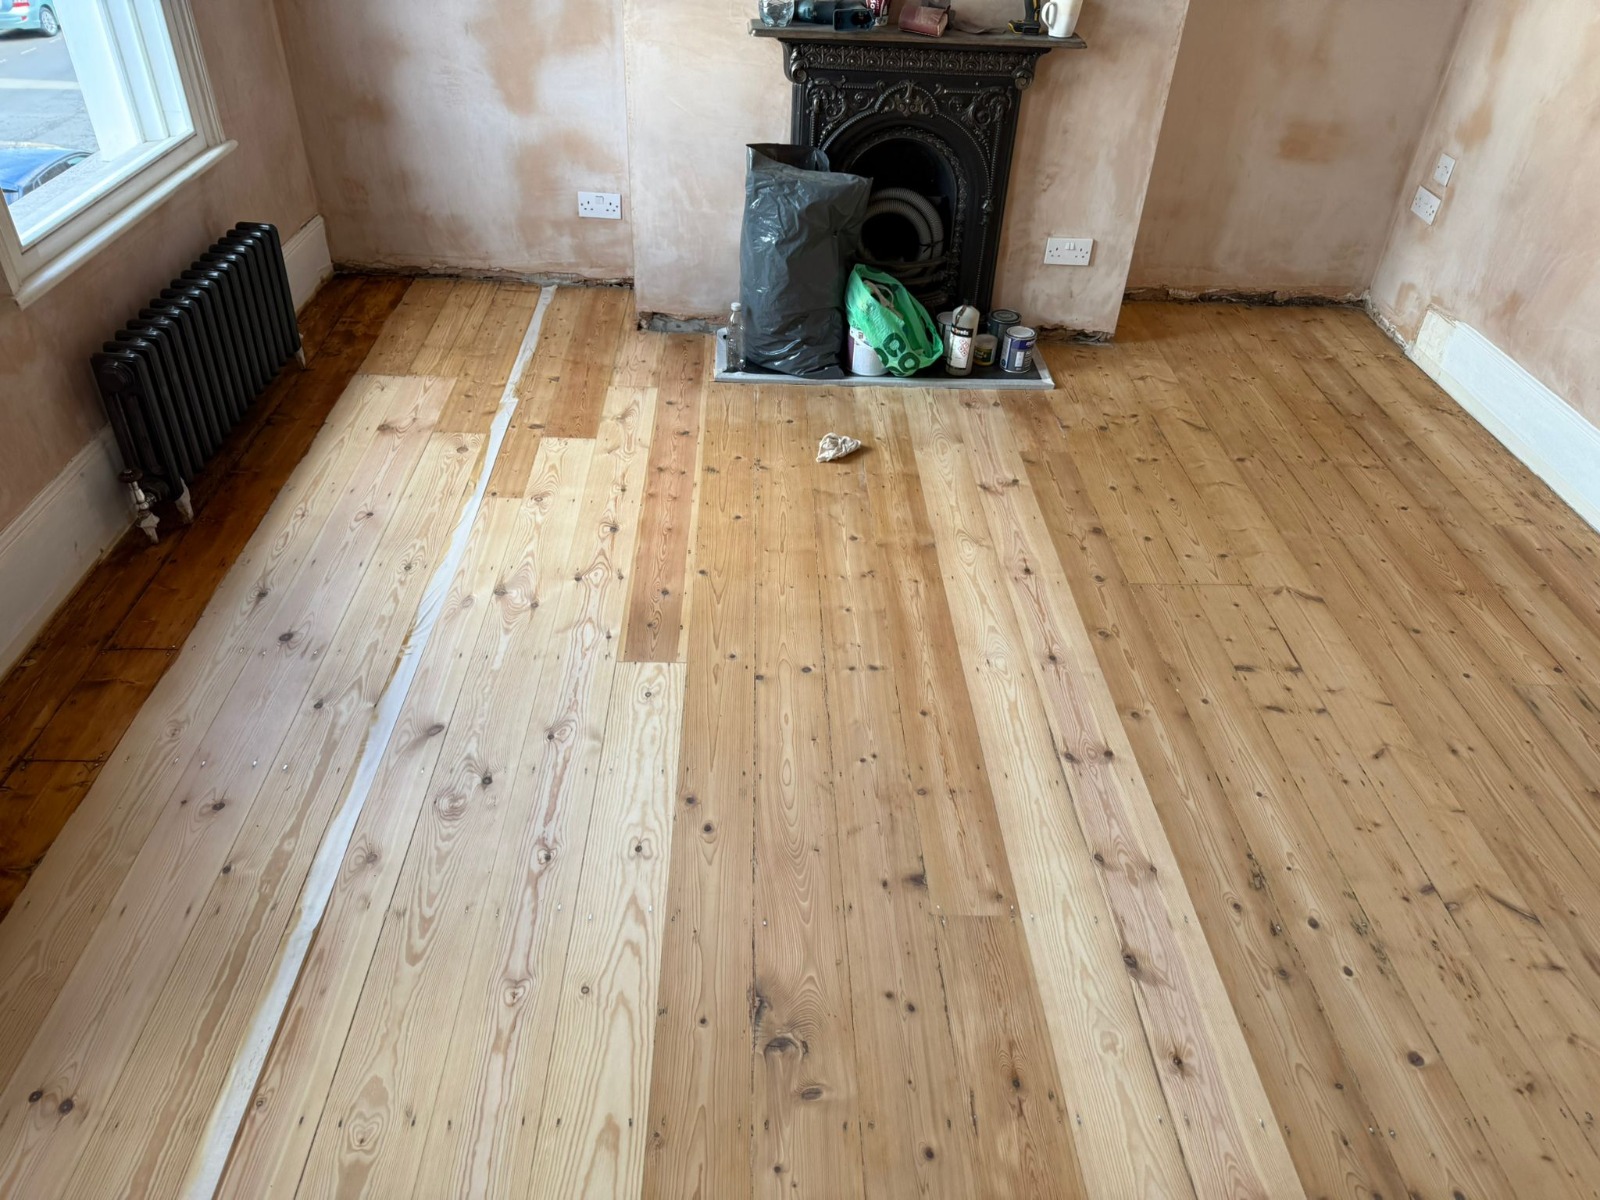
Victorian boards are beautiful, but the gaps between them can be a source of draughts, dust and lost heat. Done properly, gap filling can transform the comfort of your room.
Common gap filling methods
- Resin and dust mix
- Fine sanding dust from your floor is mixed with a special flexible resin.
- This paste is spread over the floor and pushed into gaps.
- Once dry, the excess is sanded off.
- Best for smaller gaps (usually up to 3–4mm).
- Timber slivers
- Thin wedges of pine are cut to fit wider gaps.
- They’re glued in place, then sanded flush.
- More stable for larger gaps and movement.
- Combination approach
- Slivers in big gaps, resin and dust in the smaller ones, for a clean, even result.
Specialists in gap filling and wood floor repairs in Clapham, like Clapham Floor Sanding, will choose the right method based on how your floor moves and the size of gaps – particularly important in period homes that expand and contract with the seasons.
Step 6 – Picking the Right Finish: Lacquer, Oil or Hardwax
Once your Victorian boards are smooth and clean, the finish you choose will determine both the look and the day-to-day maintenance.
Lacquer (varnish)
- Best for: busy households, rental properties, high-traffic rooms
- Pros: tough, easy to clean, good spill resistance
- Cons: damage can be more visible once worn; repairs sometimes mean re-coating the whole area
Modern professional lacquers come in matt, satin and gloss. Many Clapham homeowners now opt for extra-matt lacquer for a natural, modern look that still offers strong protection.
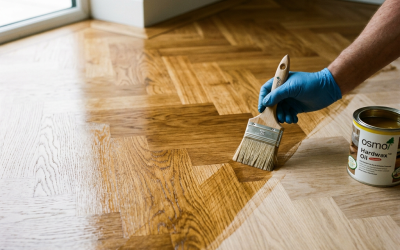
Hardwax oil
- Best for: people who want a natural, “bare wood” look with some resilience
- Pros: warm appearance, easy to patch-repair small areas, pleasant underfoot
- Cons: less resistant to standing water and harsh cleaners
Penetrating oil
- Best for: low-traffic rooms, cosy bedrooms, and those willing to maintain regularly
- Pros: rich, traditional look; easy to re-oil when needed
- Cons: needs more frequent maintenance, less tough than lacquer
A professional floor finishing service in Clapham from Clapham Floor Sanding will advise on the best combination of products depending on your lifestyle – children, pets, rental vs. owner-occupied, and so on.
Step 7 – Colour Choices for Victorian Boards in Clapham Homes
Victorian pine has a warm, honey tone that can be stunning – but not everyone wants orange-yellow floors.
Popular choices for Clapham properties
- Natural, but less orange – Using a neutral or slightly “de-yellowing” primer under lacquer can soften the colour while keeping the boards light.
- Soft white or “Scandi” wash – A subtle white stain can brighten darker rooms and offset strong wall colours.
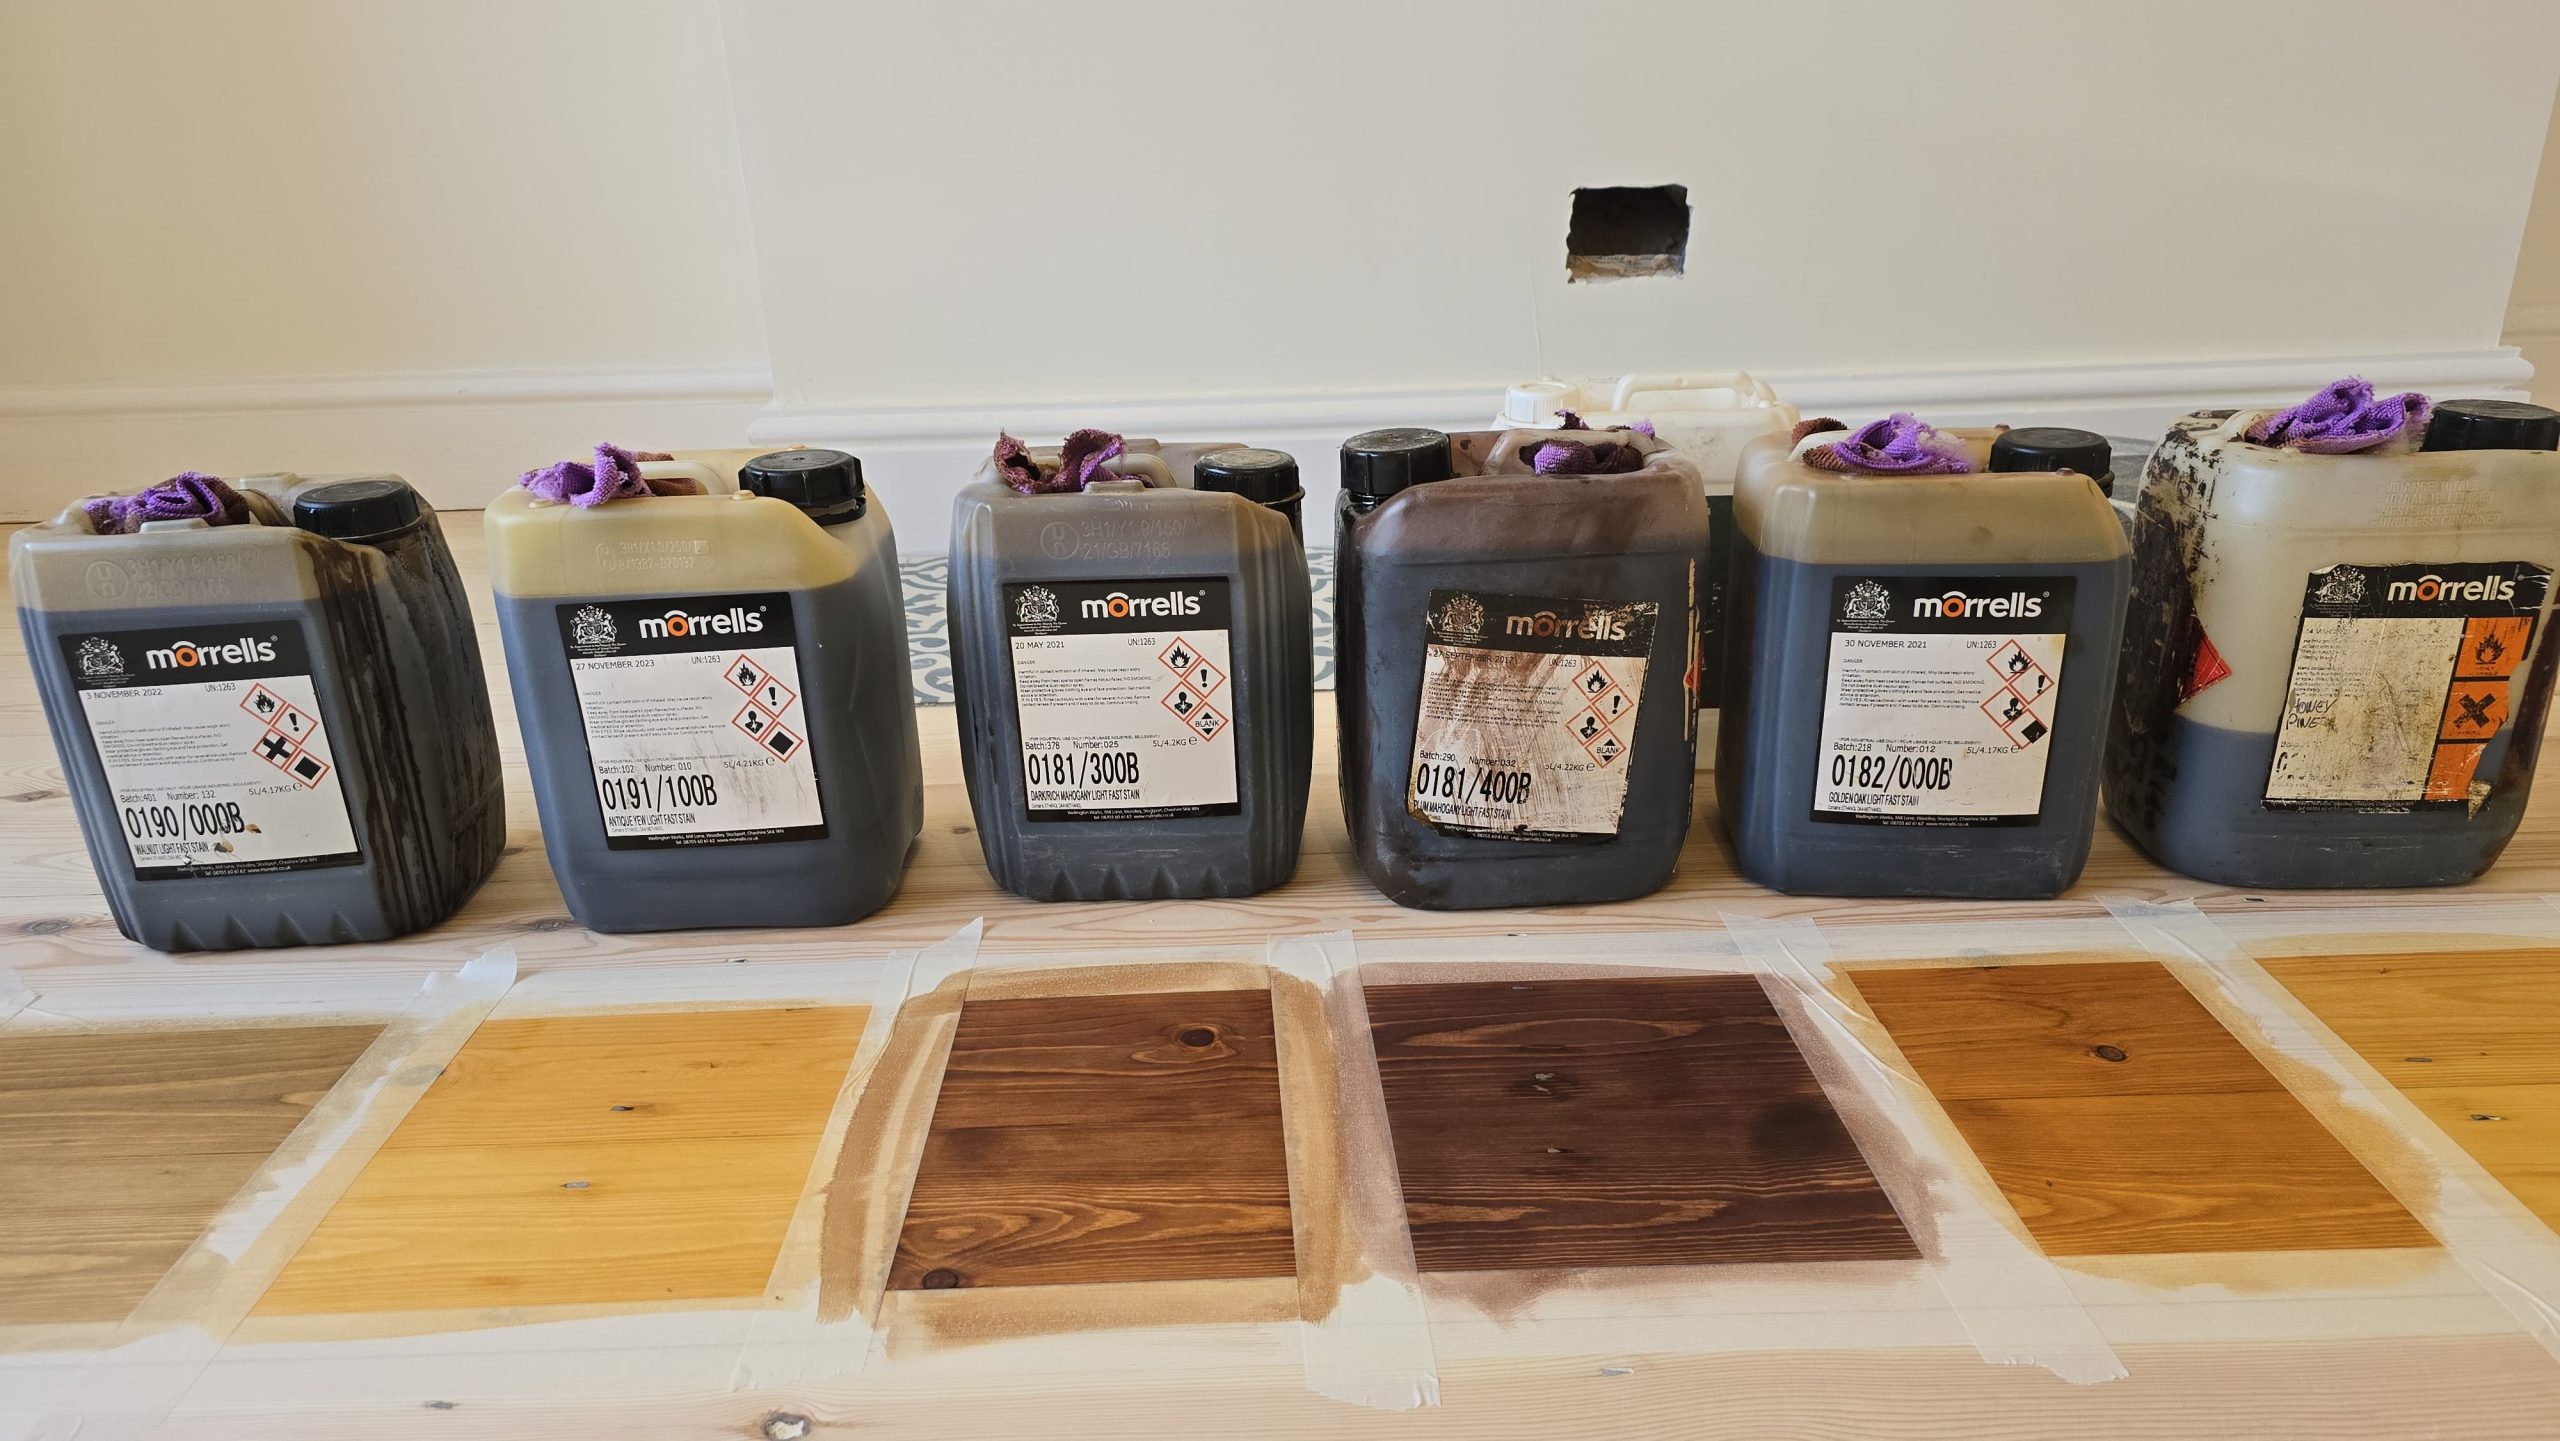
- Richer, period-style tones – Light browns and gentle mid-oak stains look fantastic with original fireplaces and high skirtings.
The key is to test samples on your actual floorboards. Pine boards vary wildly from house to house – and even room to room. Many professional wood floor staining services in Clapham (including Clapham Floor Sanding) will apply sample colours so you can see them in your own light before committing.
Step 8 – Common Mistakes to Avoid When Sanding Victorian Floorboards
If you’re tackling any part of the project yourself, watch out for these traps:
- Not punching nails deep enough
Hitting a nail with the sanding belt not only ruins the belt, it can leave black “burn” circles around the metal. - Staying too long in one spot
Lowering the drum while stationary (even for a second) can leave dips that are almost impossible to hide. - Skipping grits
Jumping from very coarse to very fine paper without intermediate steps will leave scratches that show clearly once the finish is on. - Poor dust control
Dust in the air settles back onto wet lacquer or oil, creating a gritty, uneven finish. - Rushing the finish
Putting thick coats of lacquer on too quickly, or not allowing proper drying times, can lead to peeling, cloudy patches or sticky areas.
If you’d rather avoid learning the hard way, booking a professional floor sanding and finishing service in Clapham via Clapham Floor Sanding is often more cost-effective than fixing a DIY job gone wrong.
Step 9 – When to Call in the Professionals
You can hire a machine and have a go yourself – but there are clear situations where using specialist floor sanders in Clapham makes a lot more sense.
Consider calling the experts if:
- Your boards are very uneven or cupped.
- There’s a mix of different timbers or patch repairs.
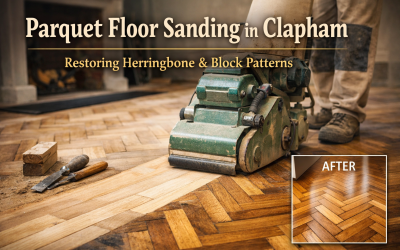
- You have parquet flooring, herringbone or panelled designs.
- The room is large and heavily worn (e.g. open-plan living/dining).
- You don’t have time for several days of sanding, dust management and drying.
A team like Clapham Floor Sanding can provide:
- Full wood floor sanding and restoration in Clapham
- Gap filling, board repairs and replacement
- Stair sanding and finishing
- Parquet sanding and restoration
- Dust-free sanding technology for cleaner, faster jobs
You get a better finish, in less time, with far less disruption – and your Victorian boards are properly protected for years.
Step 10 – Aftercare: Keeping Your “New” Victorian Boards Looking Fresh
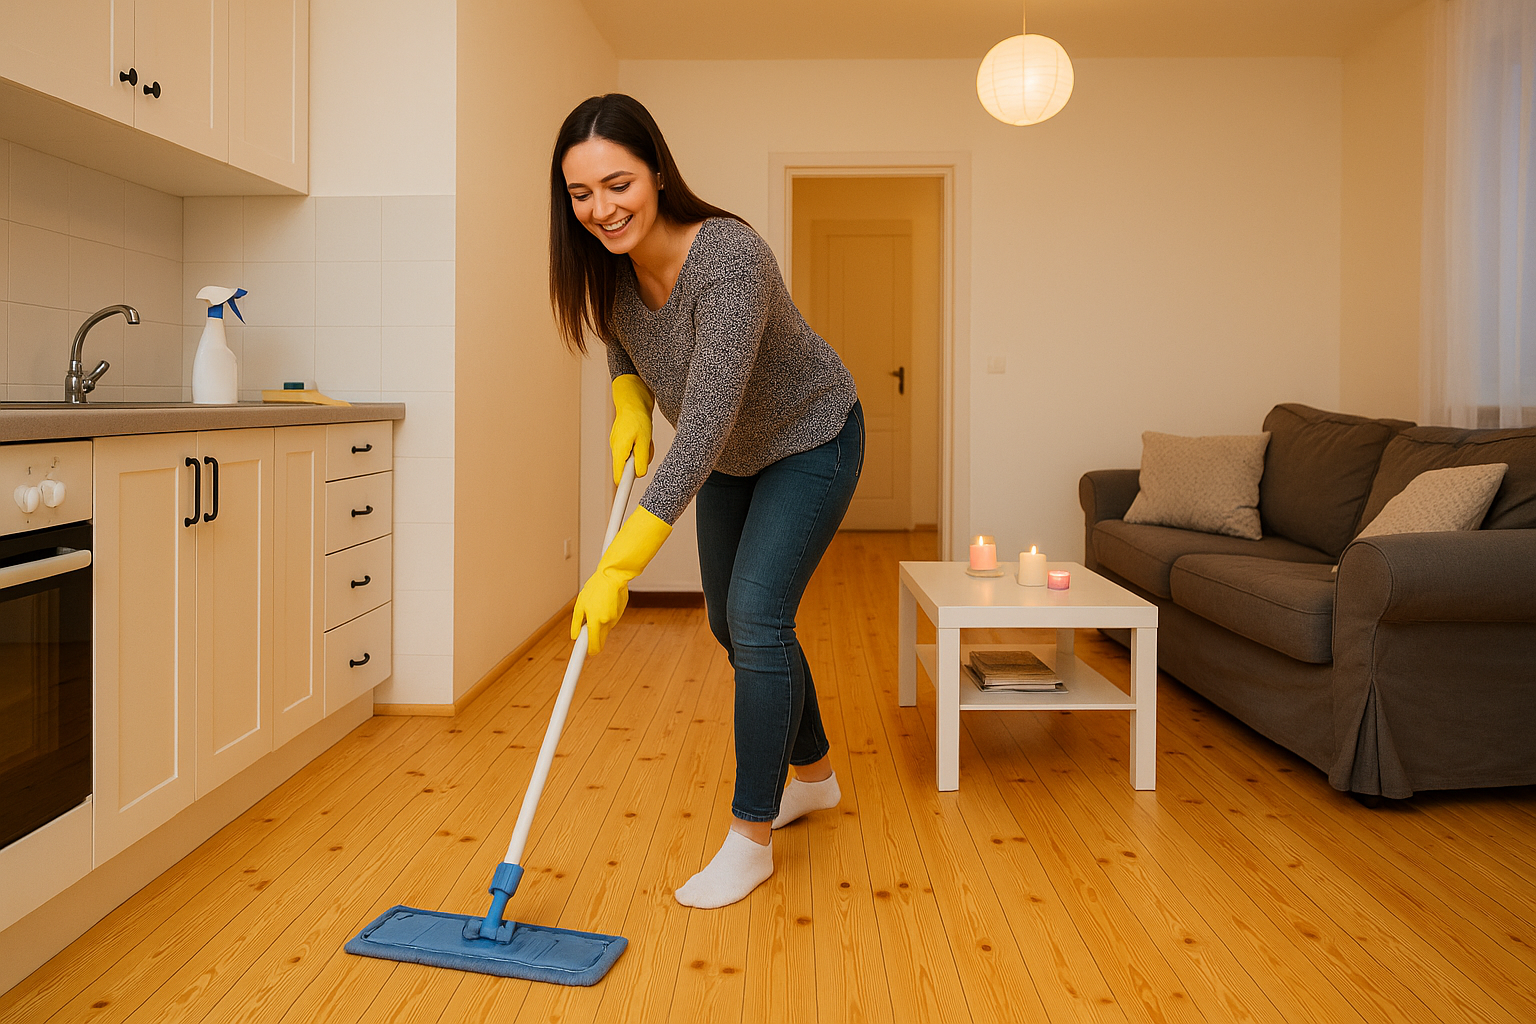
Once your floor looks beautiful, you’ll want to keep it that way. Good maintenance is simple, but a few habits make a big difference.
Daily and weekly care
- Use a soft-bristle brush or microfibre mop to remove dust and grit.
- Vacuum on hard-floor mode (no beater bar) to protect the finish.
- Mop only with lightly damp, not wet, cloths.
Use the right cleaning products
Avoid:
- Bleach or harsh chemical cleaners
- Steam mops
- “Shiny” polish products designed for vinyl or laminate
Instead, choose a cleaner designed for lacquered or oiled wood floors, depending on your finish – your floor sanding company can recommend suitable products.
Preventative measures
- Felt pads under furniture legs
- Mats at external doors to trap grit
- Lift heavy items rather than dragging them
Over time, if the floor starts to dull in high-traffic areas, a professional maintenance buff and re-coat service in Clapham from Clapham Floor Sanding can refresh the finish without a full re-sand – extending the life of your floor and protecting your original boards.
Final Thoughts: A Fresh Start for Classic Clapham Floors
Victorian floorboards are one of the joys of living in Clapham – but only if they’re treated properly. With the right Clapham floor sanding tips, sensible preparation and a good plan for finishing and aftercare, you can:
- Get rid of tired, stained and uneven surfaces
- Cut down on draughts and dust with proper gap filling
- Achieve a modern, light, easy-to-clean floor that still respects the age of your home
Whether you decide to take on parts of the job yourself or hand everything over to experienced professionals, working with a specialist in floor sanding and wood floor restoration in Clapham such as Clapham Floor Sanding is the most reliable way to make your Victorian boards look new again – and keep them that way for years to come.